Hey Folks, do you know how to make your Android Phone awesome?
Obviously, you do. By Customization. Or If you are an advanced user, by Rooting your phone and flashing Custom ROM, using Xposed Framework, etc.
If you ask me, “What’s that one thing that I can do to make my Android Phone more awesome?”, It would be hard for me to come up with one definitive answer. There can be many answers to this question.
But I can tell you from where you can start.
In order to Root your phone or flash a custom ROM, you need to have a custom recovery installed on your device. As the Stock Recovery that comes with your Android device, is very limited in terms of features. For instance, you cannot Root or Flash a Custom ROM using Stock Recovery.
And this is where third-party Recovery or Custom Recovery like TWRP comes handy. Apart from performing basic tasks, it lets you carry out advanced tasks like rooting, taking full backups, flashing ROMs and a whole lot more.
And that’s exactly why today I will be showing you a step by step guide on how to install TWRP recovery on any Android device which is supported officially or unofficially.
Excited? So, let’s get started.
Prerequisites:
- Your bootloader should be unlocked
- Your battery should be at least 60% charged
Since not all Android devices are same, TWRP is built differently for each. Also, you might find the recovery available as both official and unofficial builds, on the internet. This is because TWRP recovery is an open source project and anyone with knowledge can compile a TWRP recovery build for any Android device. So, in shot TWRP recovery is supported by most of the Android devices.
Find TWRP Recovery for You Device
Now first let’s see how you can find TWRP recovery file for your specific device, you can easily find TWRP recovery for your device by visiting the official website.

Now there are times when you are not able to find TWRP recovery on the official website, and reason is either their devices are too old or it has been recently released.
But don’t worry there is still a hope for those who are not able to find their devices in the Official TWRP website. As I mentioned earlier TWRP recovery is an open source project and anyone with knowledge can compile a TWRP recovery build for any Android device.
And that’s exactly what the good folks at XDA forums do, you can simply head over to the XDA forums and type your device name. Here you will definitely find an unofficial build for your device which also works fine as an official build.
Required Files
Now you are have download the TWRP Recovery file and the SDK platform tool from the above links. Visite the SDK platform tool website and download the SDK platform tool according to your OS as it supports windows, mac and linux also.
Enable USB Debugging
- For that open Settings menu on your device.
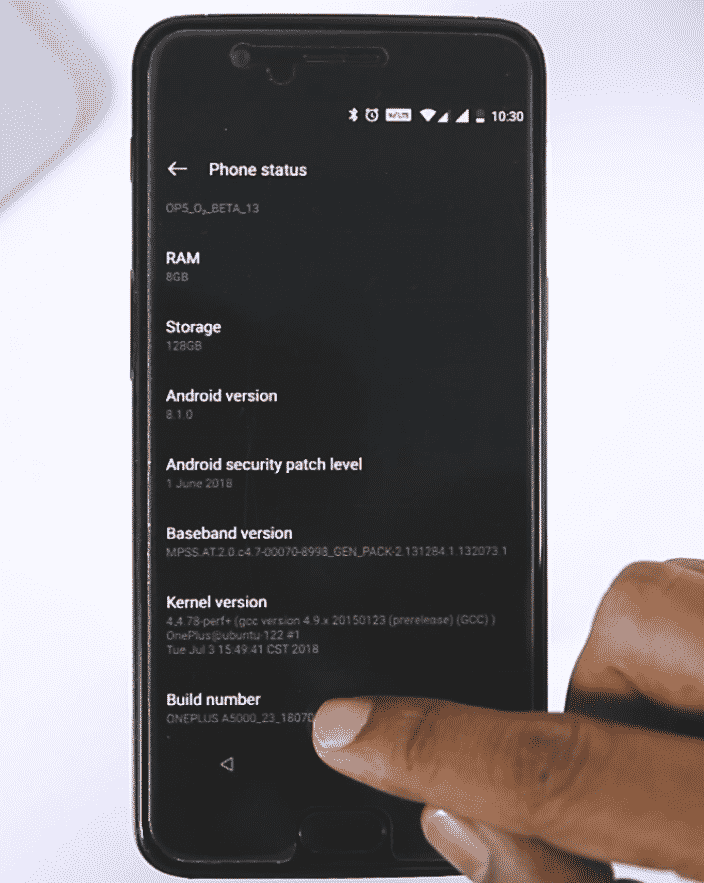
- Now go to About phone and tap seven times on Build number, this will enable Developer options.
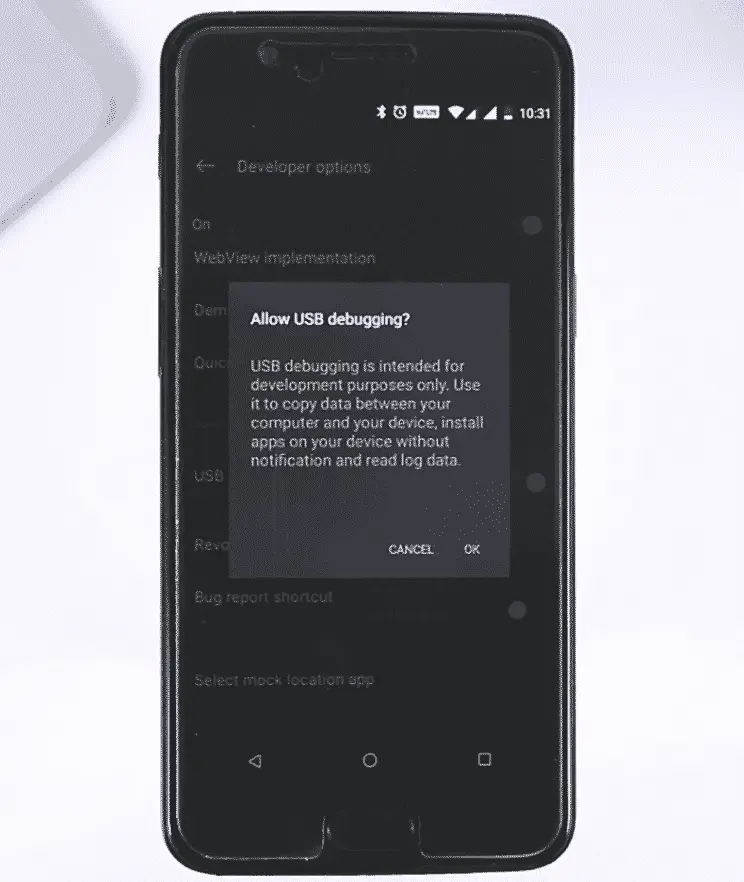
- Now go back to Settings and you’ll see Developer options there, open it and scroll down until you see USB Debugging option and just enable it, now you are good to go.
Steps Involved (For Windows)
- First Extract the SDK platform tool zip file.
- Copy the TWRP Recovery .img file in the SDK platform folder and rename it to twrp.img.
- Now open a command window/ PowerShell inside the SDK platform folder. To do that press and hold “Shift + Right click” on any empty space inside the folder and then select Open command window/ PowerShell here from the context menu.
- Connect your device to PC and type the following into the command window. If you get a permission dialogue on your device to “Allow USB debugging”, tap OK.
adb reboot bootloader
- Once your device boots into bootloader/ Fastboot mode, type the following command into command window to flash the TWRP recovery .img file.
fastboot flash recovery twrp.img
- Once TWRP is successfully flashed on your device, issue the following command to reboot:
fastboot reboot
That’s all. TWRP recovery should be installed on your device now. To boot into the freshly installed recovery. Now, you can go ahead and do whatever you want. Flash Custom ROMs, take backups or Root your device, if not yet rooted.
But do remember one thing. Whenever you are about to use TWRP, take a backup of your files first. Performing tasks like flashing new ROM or Rooting might brick your phone. So, it is always a good idea to take backups. TWRP allows you to do it. And it’s easy too.
There you have it guys. A bit long rather an easy guide on How to install TWRP Recovery.
Were you able to successfully install TWRP? or you stuck somewhere between? Don’t worry. Let me know in the comments. I can always help you out.
Video Guide
You may also like to read:


